How to Set Up Signify Teams: A Step-by-Step Guide
Signify Teams gives organizations one place to manage employee digital business cards, team invitations, seats, company branding, shared contacts, analytics and CRM connections. Getting started involves choosing a team plan, completing checkout and configuring your organization workspace.
This guide walks you through the entire process, from creating your team on the Signify website to reaching your organization dashboard and preparing it for your employees.
1. Start from the Signify Teams Page
Begin by opening the Signify Teams page. Select Create Your Team to begin setting up your organization.
If you are already signed in, you can continue to team setup. If you are not signed in, Signify will ask you to log in or create an account. After authentication, you will be returned to the team setup process.
You can then proceed to configure the subscription for your organization.
2. Configure Your Team Plan
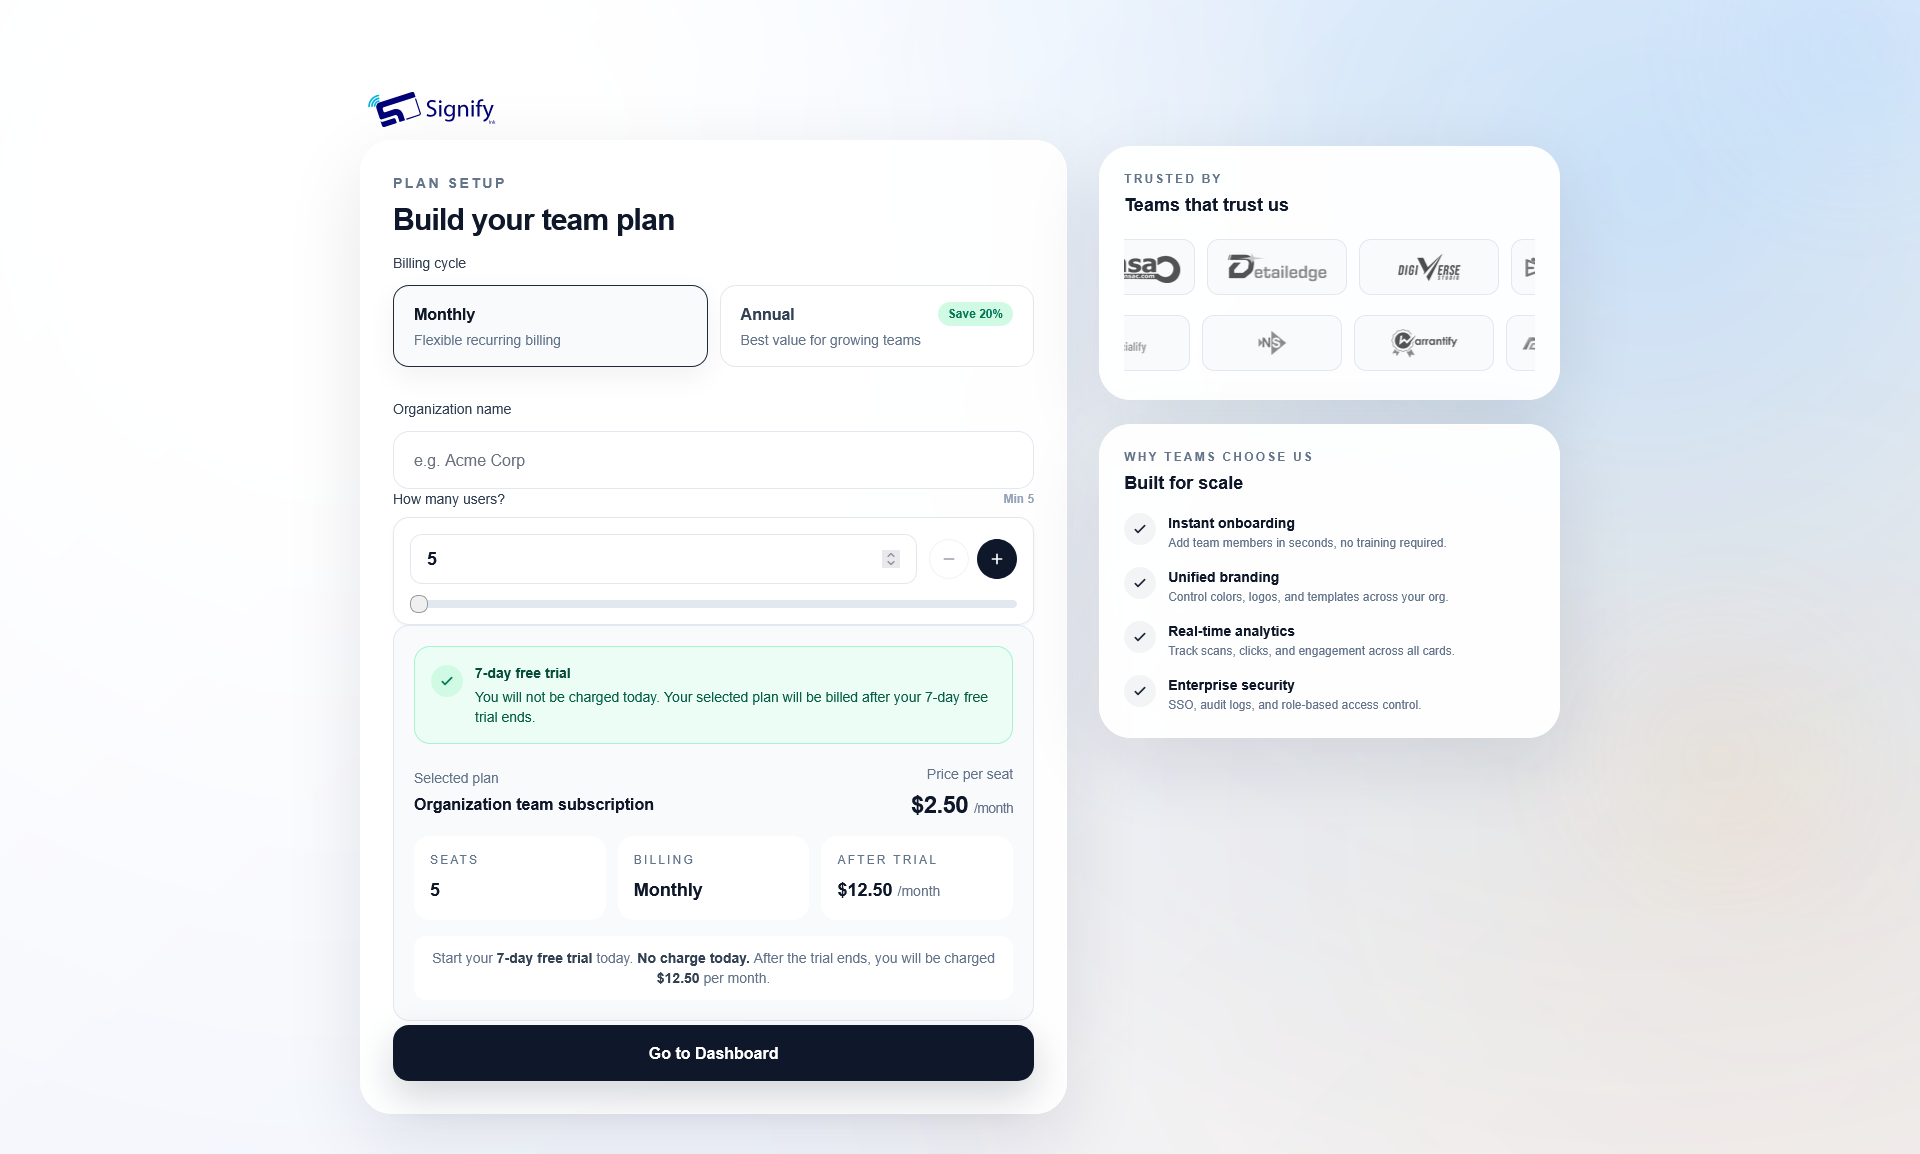
On the team pricing page, select the subscription that fits your organization's requirements. You will need to provide your organization name, choose a billing cycle and select the number of seats.
- Enter your organization name. Provide the name your team will use in Signify.
- Choose a billing cycle. Select monthly or annual billing.
- Select the number of seats. Choose between 5 and 100 seats. Your seat count determines how many team members and active invitations your team can support.
- Review the pricing. Check the displayed price per seat and the total cost for the selected billing cycle and seat count.
- Start your free trial. Select Start 7-Day Free Trial to continue to checkout.
Choose Monthly or Annual Billing
Monthly Plan
$2.50Per seat, per month.
Choose monthly billing if you prefer to pay on a monthly subscription cycle.
Annual Plan
$2.00Per seat, per month, billed annually.
The pricing page displays 20% savings compared with monthly billing.
Example: Pricing for Five Seats
| Billing Cycle | Price for Five Seats | Billing Period |
|---|---|---|
| Monthly | $12.50 | Per month |
| Annual | $120 | Per year |
Understand the trial and billing: The seven-day free trial means you are not charged during the trial period. The pricing page indicates that there is no charge today and that billing begins after the trial. The amounts above are the subscription prices after the trial, based on five seats.
3. Complete Checkout and Let Signify Set Up Your Workspace
After choosing your plan, continue through checkout to complete the subscription setup. Review your selected billing cycle, seat count and displayed total before finishing.
Once checkout succeeds, Signify opens the workspace setup page
at /teams/setup. This page gives Signify time to
prepare the organization subscription, seats and team access.
When the setup process is ready, select Go to Dashboard to continue to your organization workspace.
4. Add Your Company Details and Branding
The first time you enter the organization dashboard, a setup modal will ask you to provide your company information. This establishes the basic details for your team's workspace.
Enter the Company Information
- Company name — required: Enter the name of your organization.
- Company size — optional: Provide information about the size of your company.
- Company URL — optional: Add your organization's website address.
- Company logo — optional: Upload your logo to help establish your company's visual identity.
Review and Save Your Setup
- Complete the required company name and any optional details you want to provide.
- Select Next to review the workspace preview.
- Check the information and use the option to go back if you need to make changes.
- When everything looks correct, select Get Started & Continue to save your setup.
After saving your company details, you can begin using the organization dashboard.
5. Open Your Organization Dashboard
Once the company setup is complete, Signify takes you to the organization dashboard at /organization/dashboard. This is the central place to continue configuring and managing your team.
Start by reviewing your team's seat usage. The dashboard shows the number of purchased, used and available seats, helping you understand your current capacity before inviting more people.
Understand Your Team Seats
- Purchased seats: The total number of seats included in your selected plan.
- Used seats: Seats currently in use by your organization.
- Available seats: Remaining capacity for additional members and active invitations.
Your selected seat count determines the capacity of your team. If your organization grows and needs additional capacity, use Upgrade Seats to increase the number of seats.
6. Continue Configuring Your Team
With your organization created and your dashboard ready, you can begin setting up the tools your employees will use.
Invite Members and Manage Access
Invite employees by email and assign the appropriate team roles. Use the organization dashboard to manage team access and monitor available seat capacity as members join.
Apply Company Branding and Templates
Configure the company's branding and available templates for employee digital business cards and email signatures. This helps team members present a consistent professional identity.
Manage Team Cards and Shared Contacts
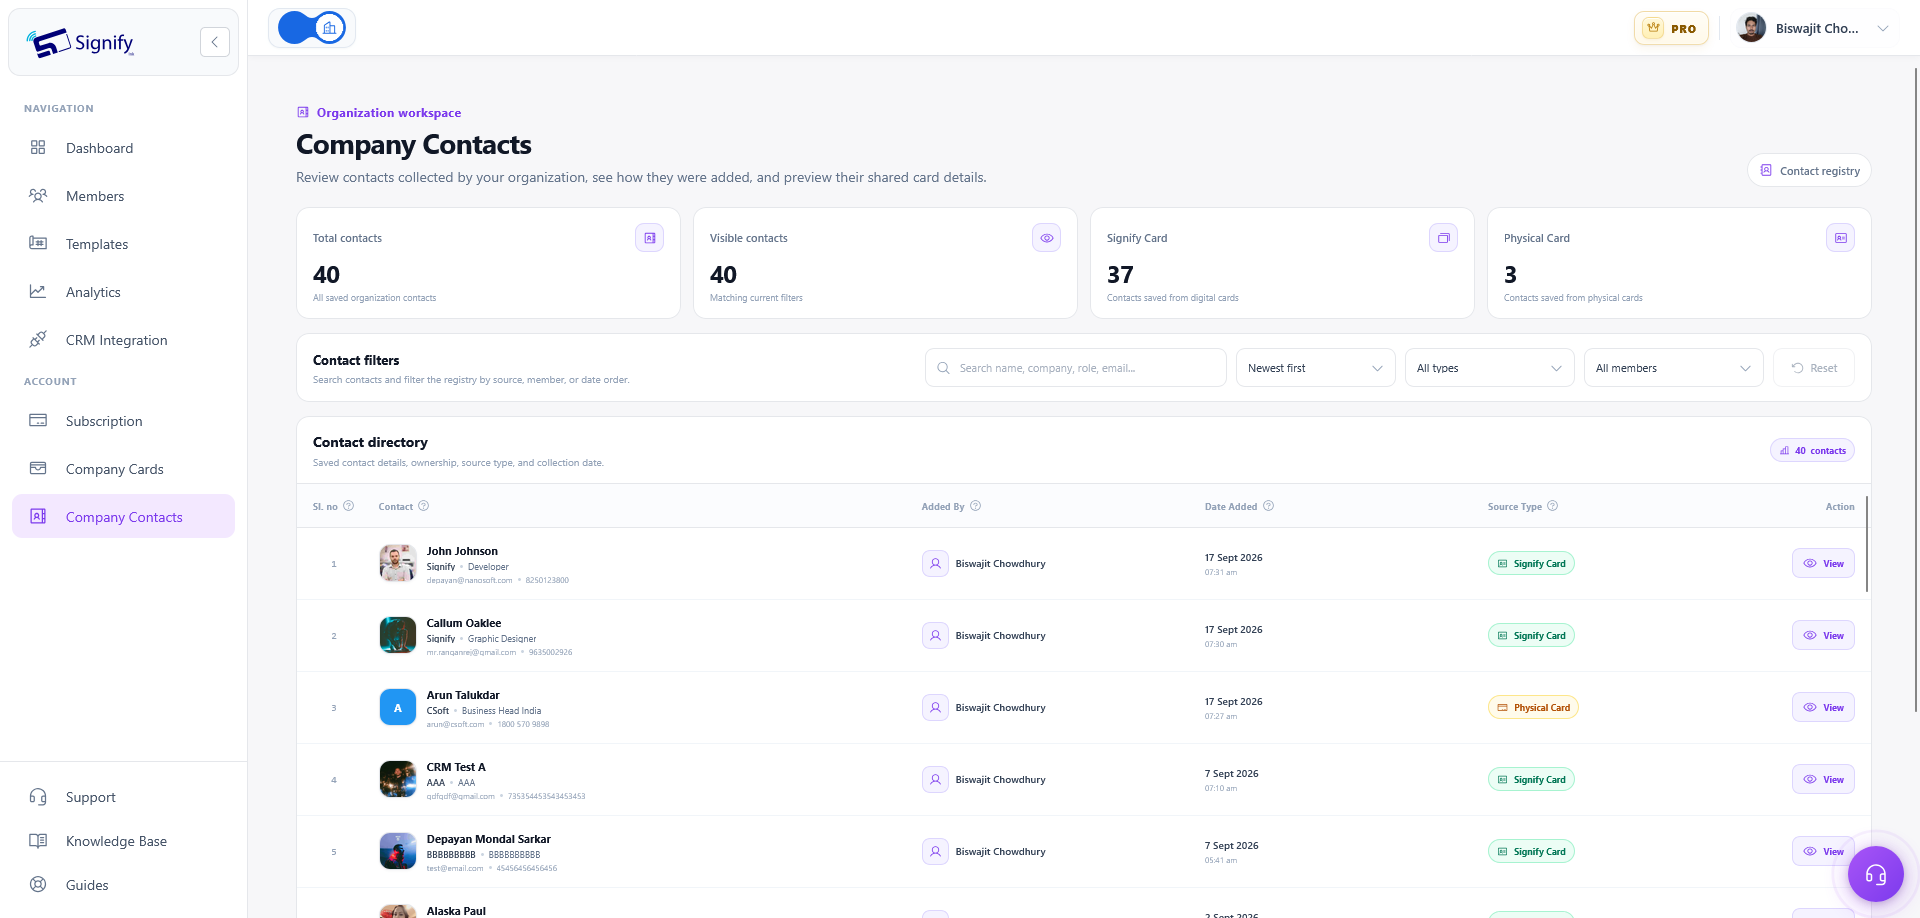
Use the available team tools to manage company cards and view contacts saved by team members. Shared contacts can be organized with notes and tags to support your organization's contact management workflow.
Review Team Analytics
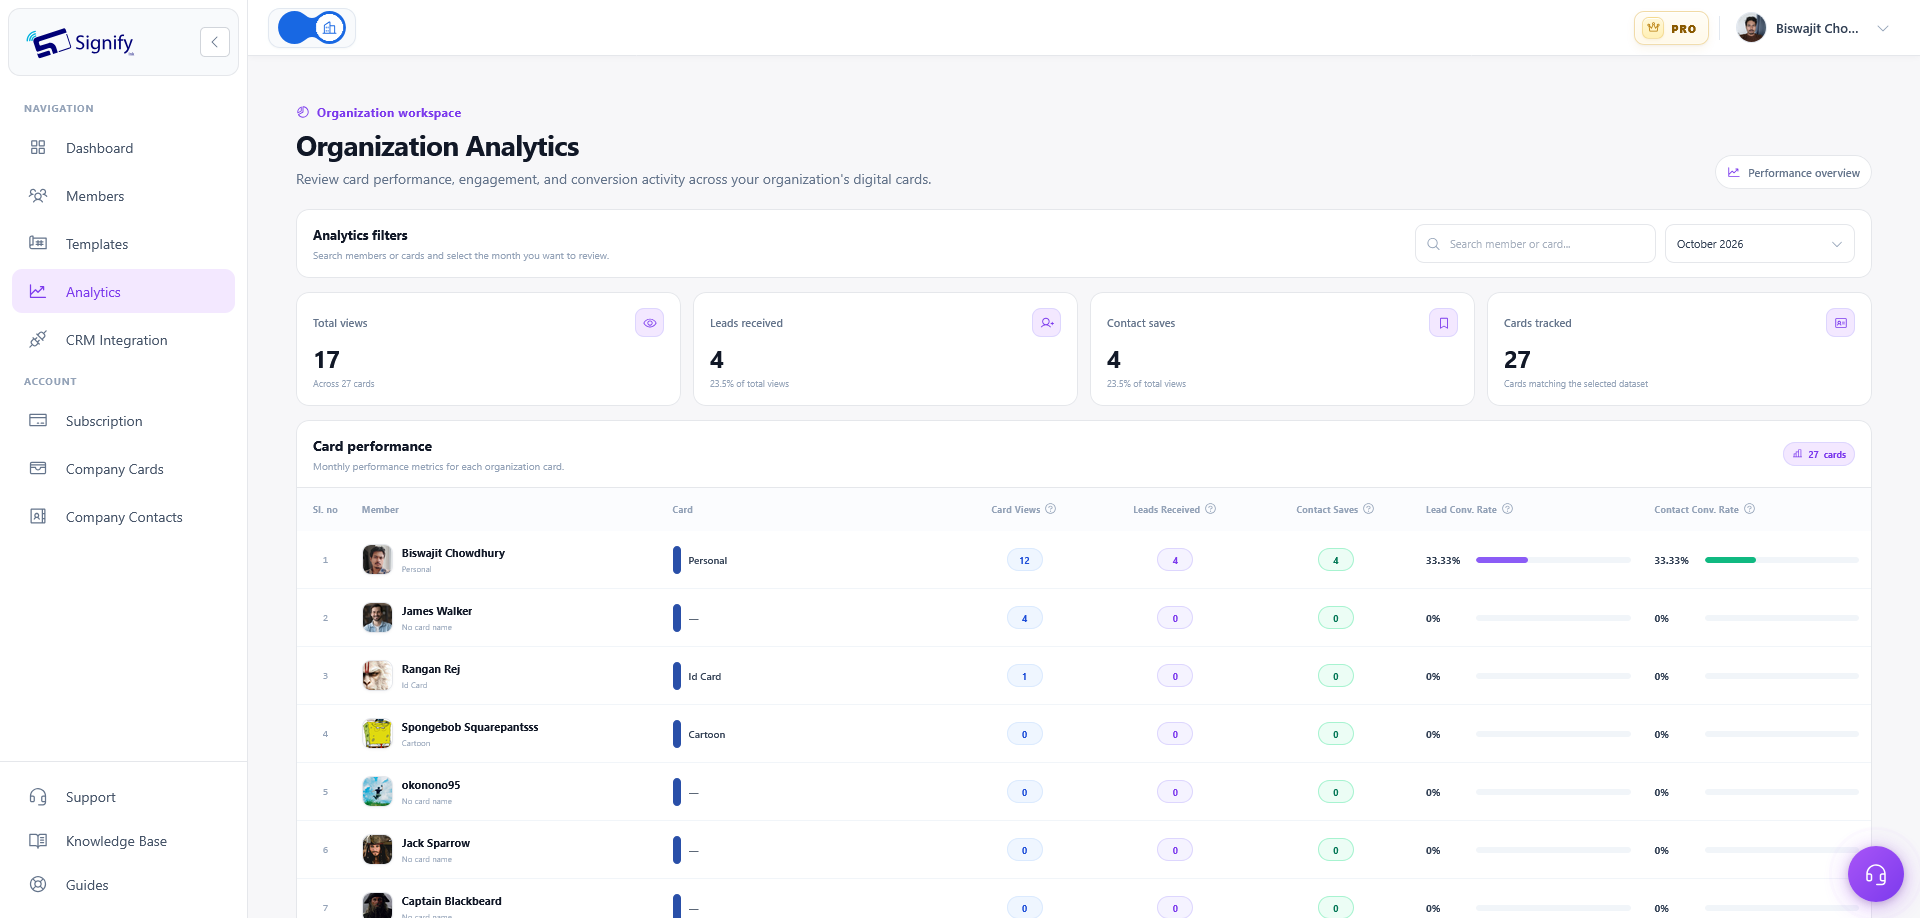
Use analytics to review card views, saves and leads. Depending on the available reports, you can examine performance by card or by team member to understand how your team's digital cards are being used.
Connect Your CRM
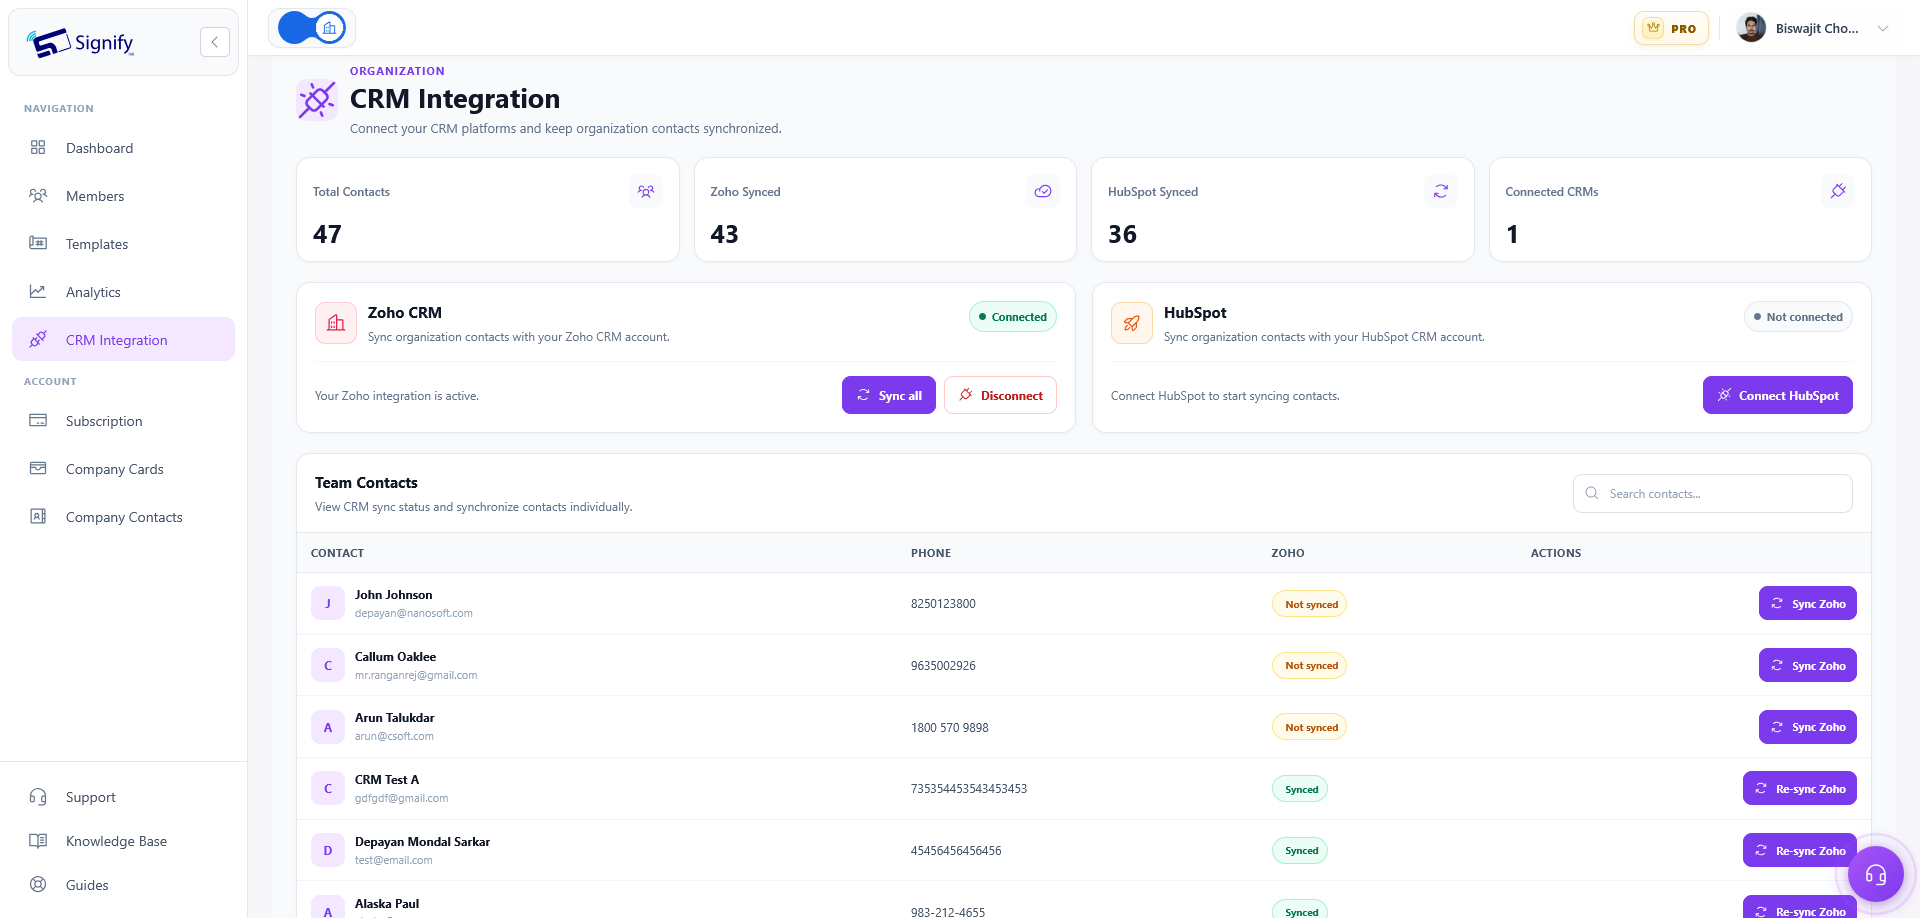
Signify Teams supports Zoho CRM contact synchronization. Connect your team's CRM using the available integration settings, sync contacts and re-sync updated details when needed.
Use Dashboard Support Tools
You can submit support requests and track their progress through the dashboard if your organization needs assistance.
7. Add More Seats as Your Organization Grows
Your original seat selection sets the capacity of your team plan. As more employees join or you need additional invitation capacity, review the purchased, used and available seat totals in the organization dashboard.
When your organization needs more capacity, select Upgrade Seats to increase your team's seat allocation. Review the updated plan and pricing presented during the upgrade process before proceeding.
Frequently Asked Questions
Where do I start creating a Signify team?
Visit the Signify Teams page and select Create Your Team. Sign in or create an account if prompted, then continue with team setup.
How many seats can I select?
The team pricing page lets you select between 5 and 100 seats. Your chosen seat count determines how many members and active invitations your team can support.
How much does Signify Teams cost?
Monthly billing is $2.50 per seat per month. Annual billing is $2.00 per seat per month, billed annually, with 20% savings displayed. Five seats cost $12.50 per month or $120 per year, respectively, after the seven-day free trial.
Will I be charged during the seven-day free trial?
The pricing page states that you will not be charged during the seven-day trial and that there is no charge today. Billing begins after the trial period.
Why does Signify open a setup page after checkout?
After checkout succeeds, Signify opens
/teams/setup while it prepares billing, seats
and team access. When setup is ready, select
Go to Dashboard.
Which company details are required?
Company name is required. Company size, company URL and company logo are optional. After entering your details, select Next to review the preview, then select Get Started & Continue to save.
Where can I see my purchased and available seats?
Visit the organization dashboard at /organization/dashboard. It displays purchased, used and available seat totals.
Can I add seats after creating my team?
Yes. Use Upgrade Seats in the organization dashboard when your team needs additional capacity. Review the updated plan and price presented during the upgrade.