How to Create Your First Digital Business Card with Signify
1. Open the App and Log In
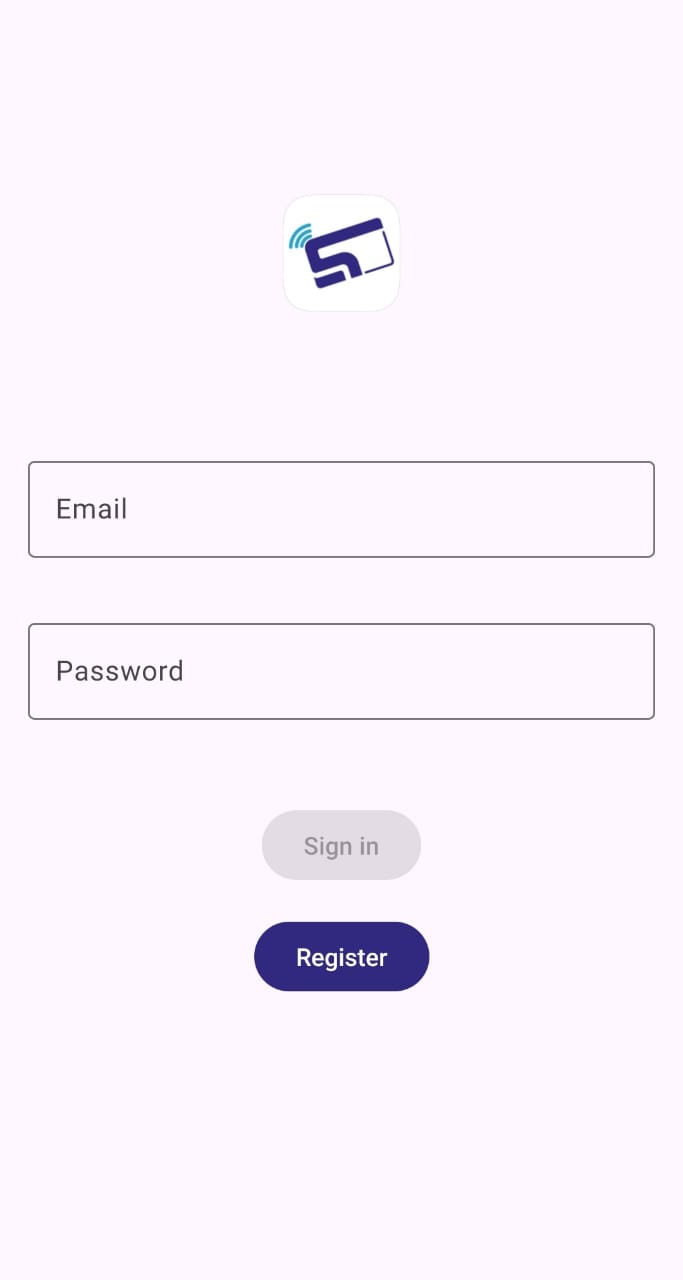
- Find the orange Signify app icon and tap to launch.
- If prompted, enter your email and password.
- If you forgot your credentials, tap "Forgot Password" and follow the email instructions.

2. Tap the "+" Button
- On the bottom navigation bar, tap the central Plus icon.
- If you see "Subscribe to add more cards," you’ve reached the free limit. Tap OK to stay free or Subscribe for unlimited cards.
3. Enter Your Personal Details
- Name – Your full name as you want it displayed.
- Job Title – e.g., "Sales Manager," "Freelance Designer".
- Department (Optional) – Your team or division.
- Company Name – Your business, employer, or "Self‑Employed."
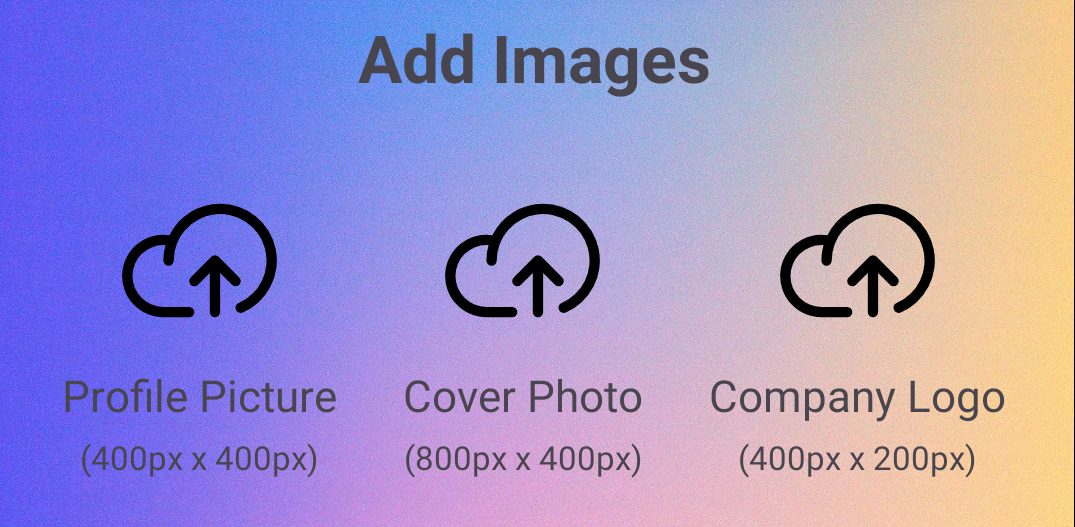
4. Add Photos (Optional)
- Profile Picture – Tap the round placeholder and select from your gallery.
- Cover Photo – Tap the banner area and choose a background.
- Company Logo – Tap the logo square to upload.
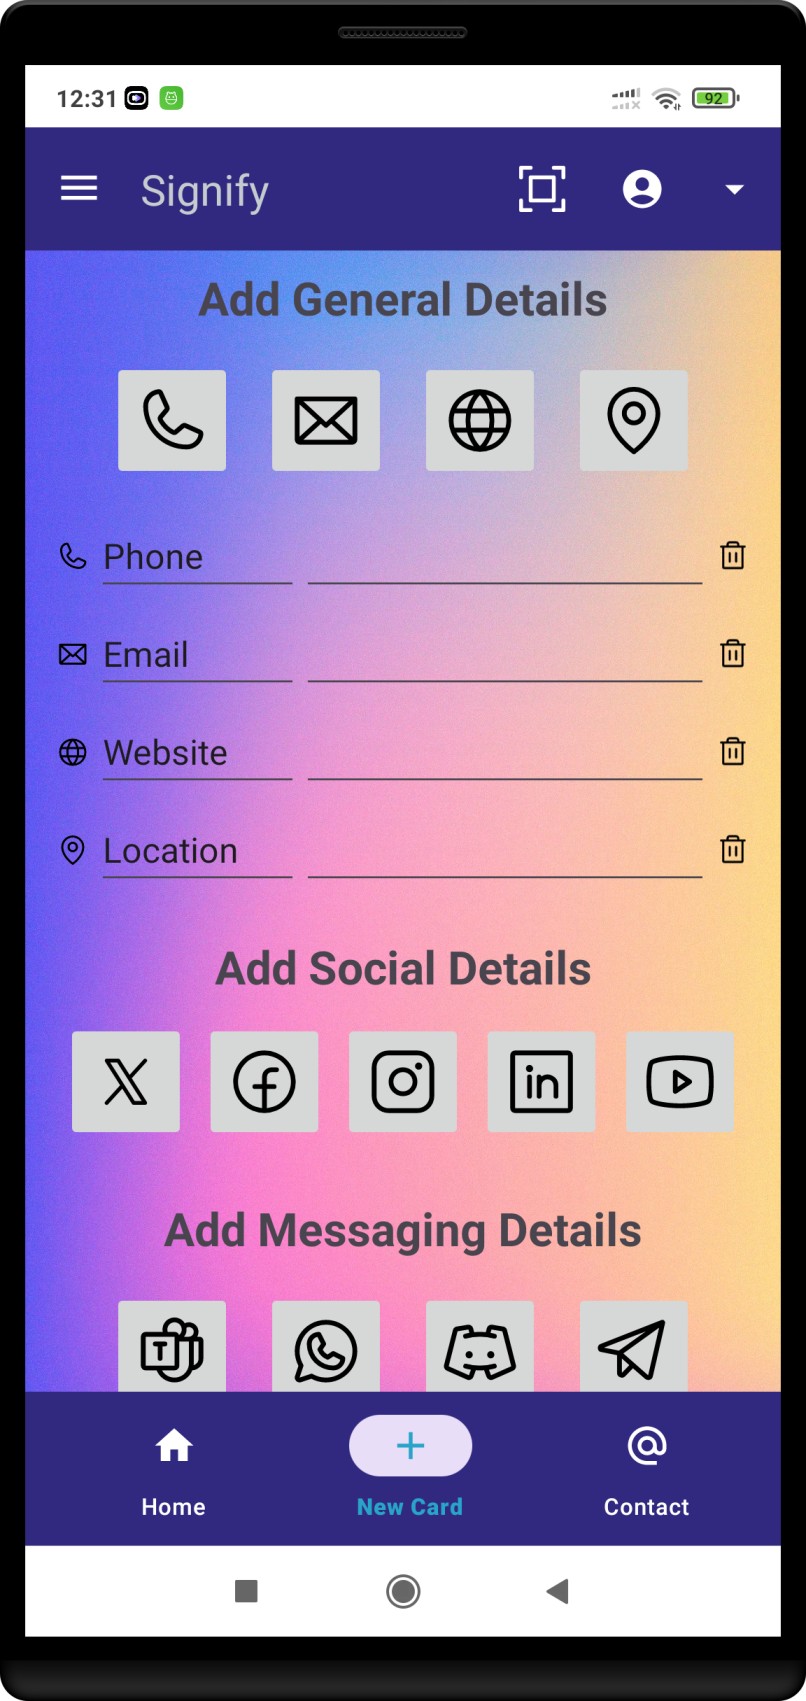
5. Add Contact Methods
- Tap a category (Phone, Email, Website, etc.).
- Type your information in the field that appears.
- Tap the trash icon to remove an entry.

6. Save Your Card
- Review all details, then tap Save at the bottom right.
- Look for the “Card Created!” confirmation.
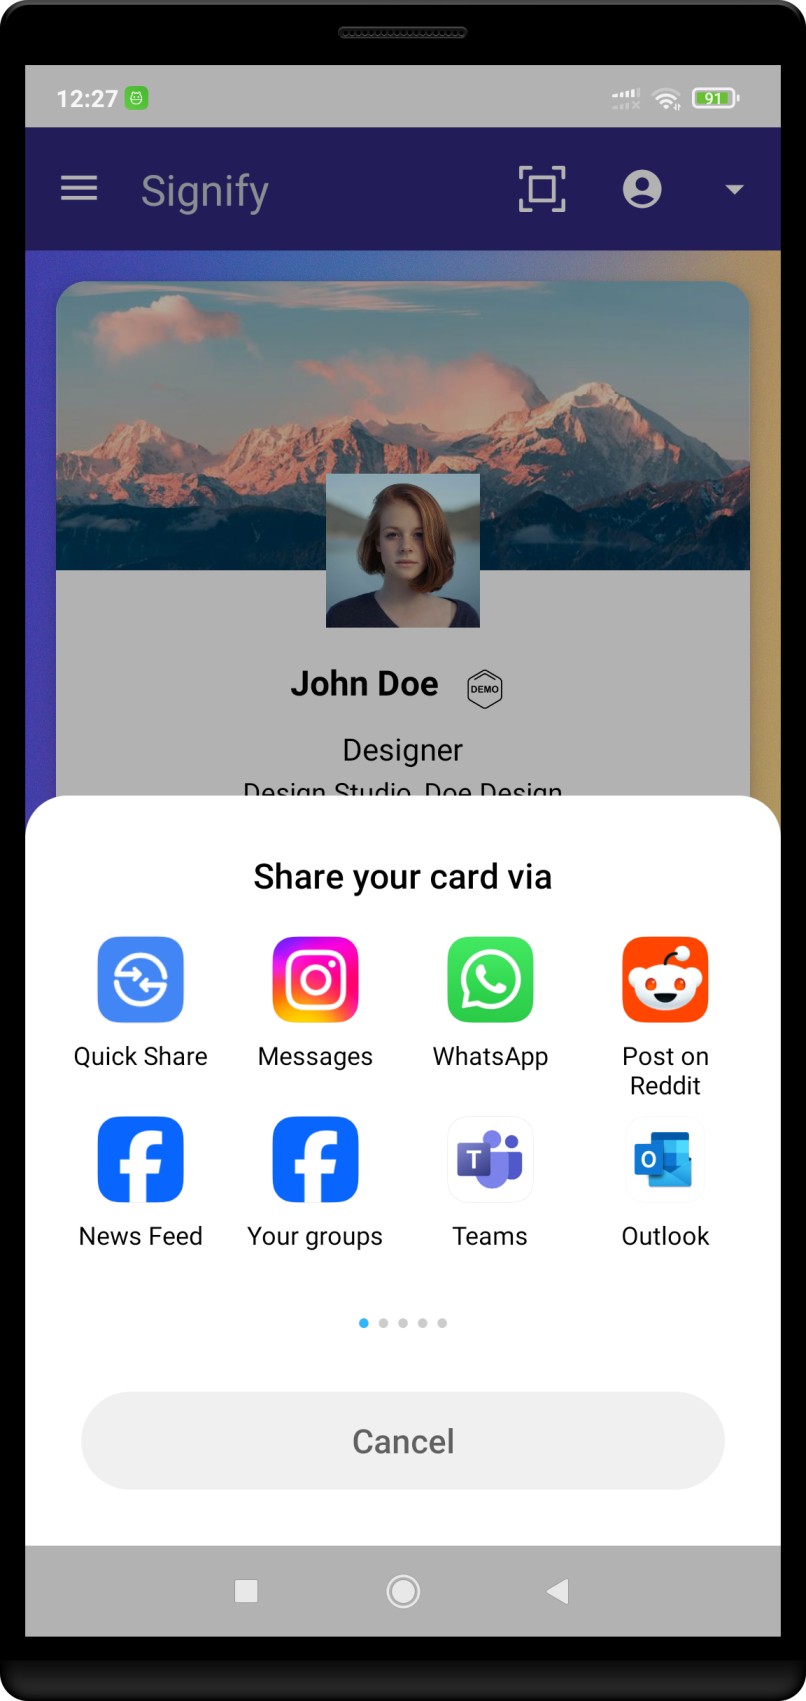
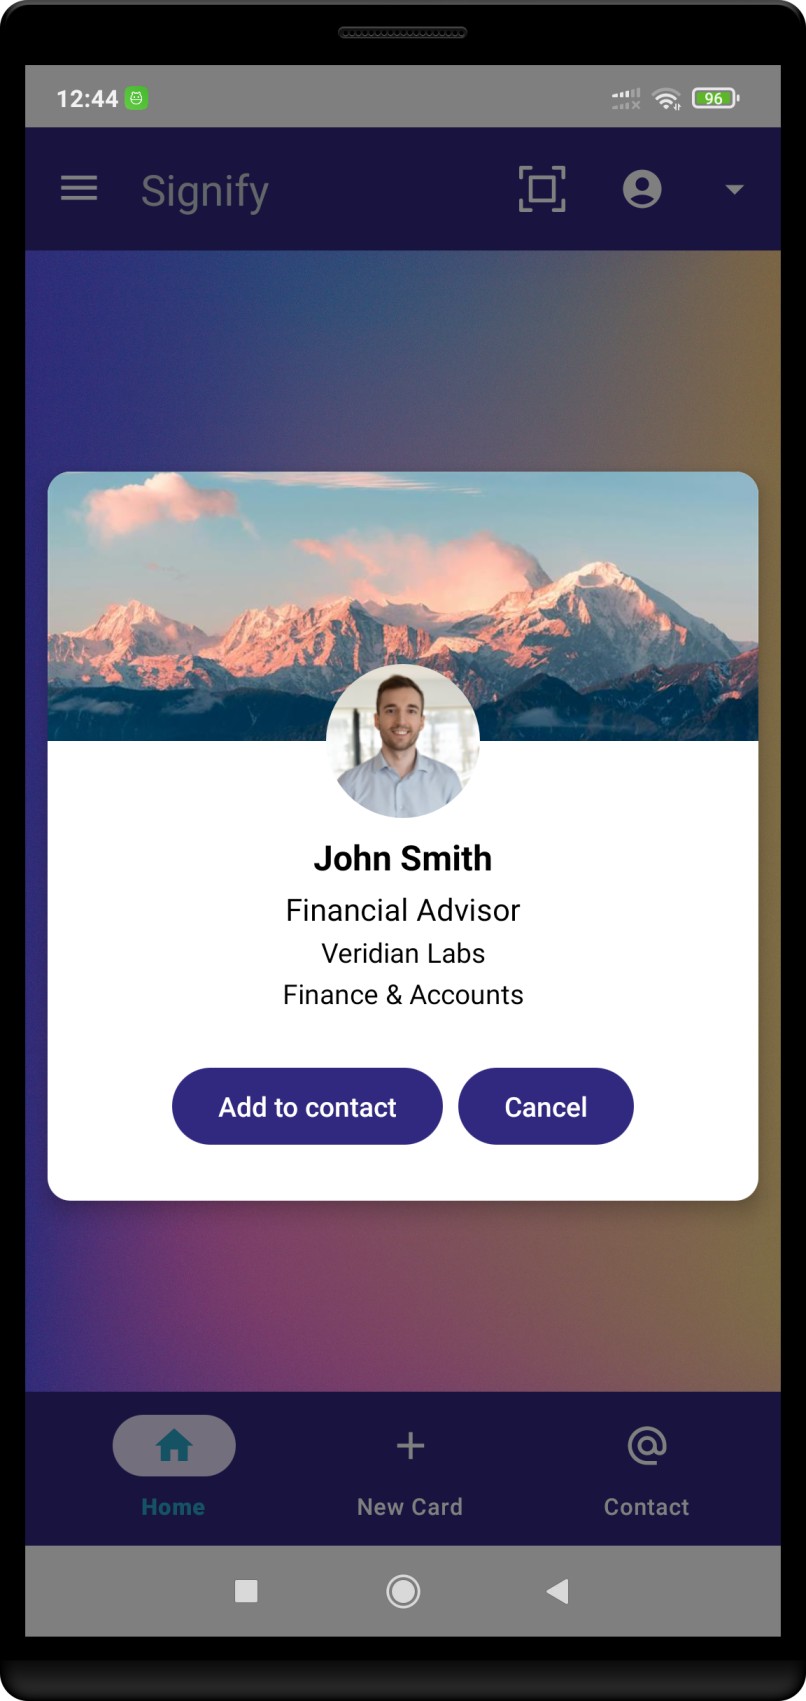
7. Share Your Card
- Swipe until your new card is centered.
- Tap the QR Code icon to enlarge.
- Have someone scan it with their camera or QR scanner.
Quick Recap
1. Open Signify → 2. Tap Plus → 3. Enter details → 4. Add photos → 5. Add contacts → 6. Save → 7. Share via QR code